
Purchasing Info Records in SAP: A Step-by-Step Guide
In SAP, purchasing info records store essential data on vendor-material relationships at the plant or purchasing organization level. These records are crucial for different procurement types, such as standard, subcontracting, pipeline, and consignment.
SAP Navigation Path:
SAP Easy Access > Logistics > Materials Management > Purchasing > Master Data > Info Record > Create
Transaction Codes:
- ME11: Create
- ME12: Change
- ME13: Display
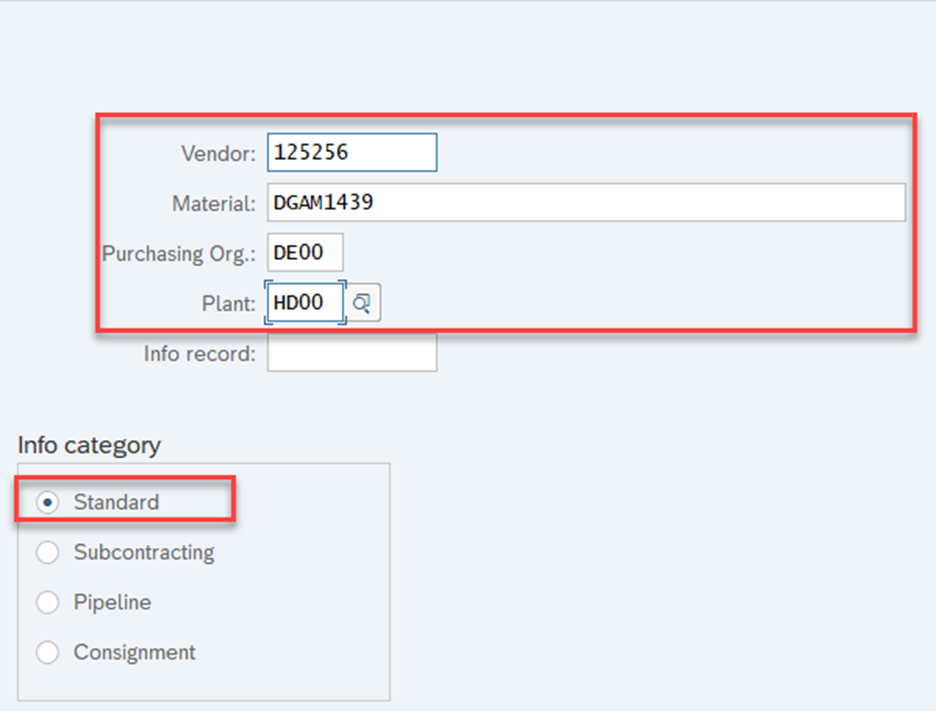
Step 1: Initial Screen – Create Info Record
On the initial screen, enter the following details:
- Vendor code, Material code, Purchasing organization, and Plant.
- Choose the Info Category (e.g., Standard for regular procurement or Subcontracting).

On the next screen, all relevant data from the Vendor Master is automatically copied, meaning there is no need for manual input at this stage. You can review the details for accuracy or proceed to the next step.

Step 2: Update Key Data
In the next screen, you’ll need to update the following details:
- Delivery Time: Enter the delivery time and ensure the purchasing organization defaults align with the Material Master.
- Standard Quantity: Specify the standard quantity for the procurement.
- Tax Code: Select the appropriate tax code relevant to the transaction.
- Remaining Shelf Life: This is automatically defaulted from the Material Master.
- Net Price: Enter the net price for the material.


The purchase order text defaults from the Material Master data.

After entering all the necessary data, click Save. The system will generate a new purchase info record, and a pop-up message will confirm its successful creation.
Change Purchase Info Record in SAP (ME12)
Step 1: Accessing the Transaction
To change an existing purchasing info record, enter the transaction code ME12 in the SAP Command Bar. Fill in all mandatory fields and press Enter to proceed.
Step 2: Modify the Purchase Info Record
A new screen will appear, allowing you to modify the purchasing info record according to user requirements. For example, you can change the remaining/expendable days from 4 days to 5 days, or make any other necessary adjustments.

Step 3: Save Your Changes
Click on the Save button to finalize and save the changes made to the purchasing info record.